

Key Takeaways
Why Automation Works Better Than Willpower
Most people intend to save. The problem isn't motivation — it's that the money disappears before the transfer ever happens. Rent, groceries, a car repair, a dinner out — and suddenly there's nothing left to move into savings. This is a design flaw, not a character flaw.
Automation solves it by taking the decision out of your hands entirely. When a transfer happens automatically, you never get a chance to redirect that money. Over time, you simply adjust your spending to whatever hits your checking account after the transfer — much the same way most people adjust when taxes are withheld from a paycheck before it arrives.
This is the core idea behind paying yourself first: treat savings like a non-negotiable bill, not an afterthought. Automation is what makes that principle automatic rather than aspirational.
You don't need a large income or a complex budget to start. You need a checking account, a savings account, and about 15 to 30 minutes to set everything up.
What you will need
How to Set Up Your Automated Savings Transfer
The steps below walk through the process using a standard bank or credit union setup. Most online banks and credit unions follow a nearly identical flow. If your institution's interface looks different, the underlying logic is the same — look for "recurring transfer" or "scheduled transfer" in your account settings.
Pick a realistic transfer amount
Before you log in to anything, decide how much you want to move each pay period. Don't aim for a number that feels impressive — aim for one that won't strain your checking account. A good starting point: review your last two or three months of bank statements and identify what's left over a day or two before your next paycheck. Take 50% of that leftover amount as your starting transfer. Even $25 or $50 per paycheck adds up to $650–$1,300 a year.
Confirm you have a dedicated savings account
Your automated transfer needs a destination. If you only have a checking account, open a basic savings account at your bank or credit union before proceeding. Ideally, use an account that's slightly out of easy reach — a savings account at a different institution, for example, adds a small psychological barrier that makes impulsive withdrawals less likely. Many online banks offer savings accounts with no minimum balance and no monthly fees.
Log in and locate the transfer scheduling tool
Sign in to your bank's online portal or mobile app. Look for a section labeled Transfers, Move Money, or Payments. From there, find the option to schedule a recurring or automatic transfer. Select your checking account as the source and your savings account as the destination.
Set the amount, frequency, and start date
Enter your chosen transfer amount. Then set the frequency — weekly, biweekly, or monthly, depending on how often you're paid. For the start date, choose a date that falls one to two business days after your regular payday. This ensures your paycheck has cleared before the transfer attempts to pull funds. Confirm the settings and save or submit the scheduled transfer.
Verify the first transfer completed successfully
After the first scheduled date passes, log back in and confirm the transfer went through without triggering an overdraft or error. Check both accounts: the deduction from checking and the deposit to savings should both appear. If an error occurred, the most common cause is a timing issue — adjust the transfer date by one or two days and reschedule.
Increase the amount gradually over time
Once the transfer runs smoothly for two or three months without disrupting your regular spending, consider bumping the amount up modestly — even an extra $10 or $25 per period. Doing this after a raise or whenever a recurring expense ends (a paid-off loan, a cancelled subscription) is a low-pain way to grow your savings rate without feeling the pinch.
Once your transfer is running, it's worth understanding what else automation can — and can't — do for your budget. For a fuller picture, see the pros and cons of automating your budget.
Naming Your Savings Account Helps
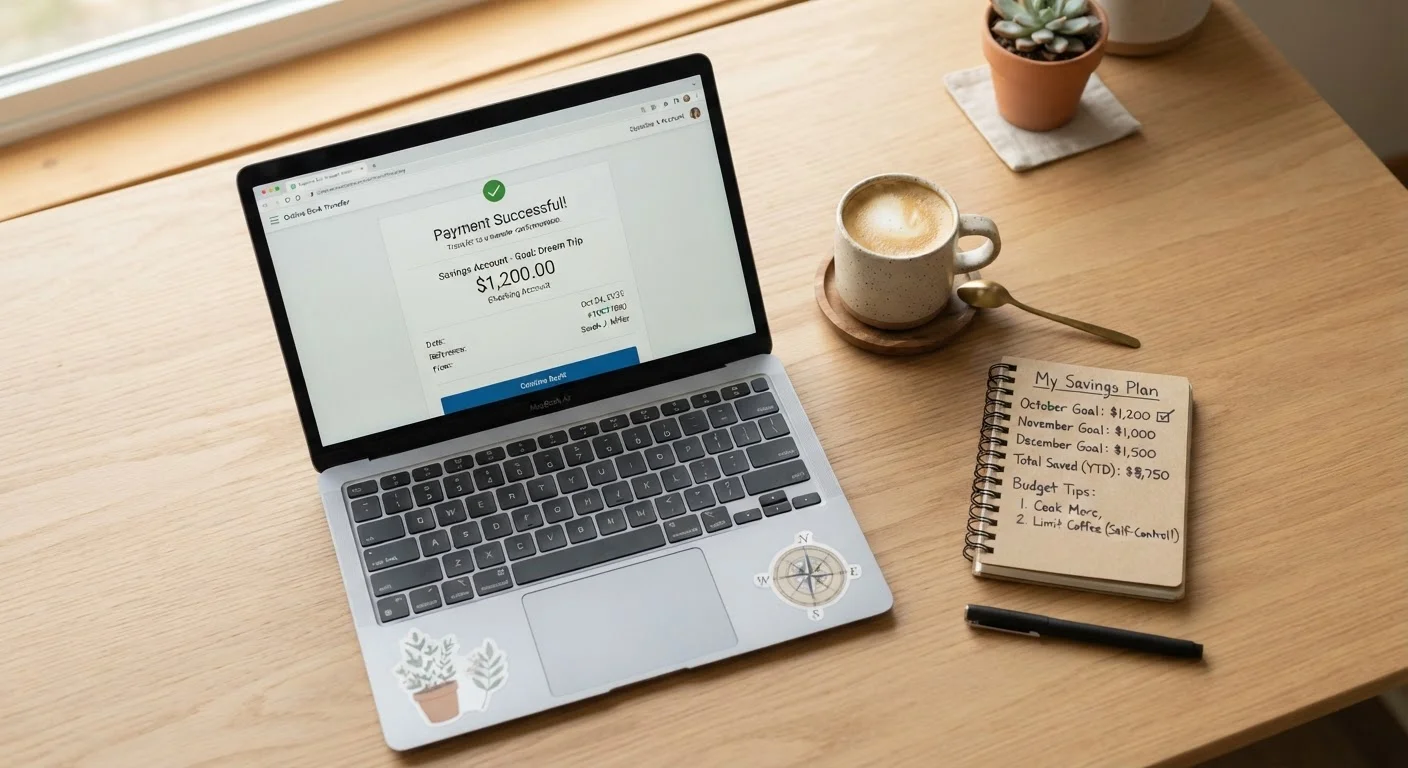
Many banks let you give savings accounts a custom nickname — "Emergency Fund," "Vacation," or "New Car." Research on goal-setting suggests that labeling money for a specific purpose makes people less likely to raid it for unrelated expenses. It takes 30 seconds to rename an account and can meaningfully change how you treat that balance.
Making It Stick: Common Pitfalls and How to Avoid Them
Automation reduces friction, but it doesn't eliminate every obstacle. Here are the issues that trip people up most often — and how to handle them.
- Overdrafts. If your transfer hits before your paycheck clears, you could overdraw your checking account. Schedule the transfer for one to two business days after your expected pay date to create a buffer.
- Forgetting about the transfer. This sounds odd, but some people set up a transfer and then forget — and later cancel it during a tight month, never restarting it. Set a calendar reminder every three months to review your savings setup.
- Starting too big. An ambitious transfer amount that consistently overdrafts will undermine the habit. Start smaller than you think you need to, prove the system works, then increase gradually.
- Only one savings bucket. Consider keeping separate savings accounts for different goals — one for emergencies, one for a vacation, one for a large purchase. Many banks let you label or nickname accounts, which makes it easier to leave goal-specific money alone.
If you're starting from scratch and feeling uncertain about how much to save or where to focus first, building a savings habit from zero offers a practical beginner's framework for your first 90 days.
You can also tie your savings thinking to your broader budgeting basics — knowing where your money goes each month makes it easier to find the right transfer amount without guessing.
This article is for general informational purposes only and does not constitute personalized financial advice. For guidance specific to your situation, consider speaking with a qualified financial professional.