

Key Takeaways
Before You Start: What You Need to Have Ready
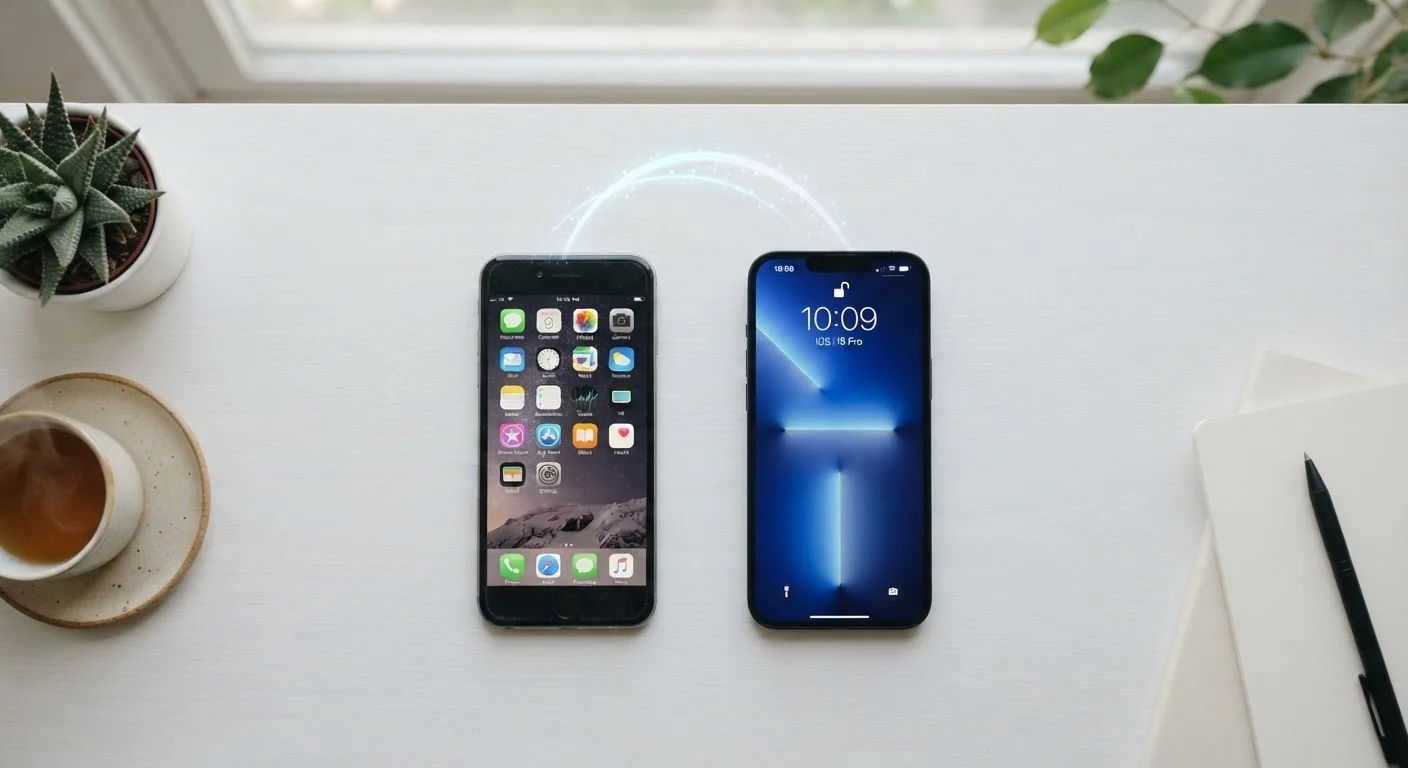
Switching phones feels daunting because so much of your daily life lives on that device — contacts, years of photos, app logins, payment methods. The good news is that modern smartphones are designed to make transfers manageable, even for first-timers. The key is doing things in the right order.
What you will need
If you're brand new to smartphones altogether, our no-jargon starting guide covers the basics before you dive in here.
What the Transfer Process Actually Moves
Understanding what transfers automatically — and what doesn't — saves you from nasty surprises later.
Typically moved automatically:
- Contacts synced to your Google or Apple account
- Photos and videos backed up to the cloud
- App lists (though apps usually need to re-download)
- Calendar events, email accounts, and browser bookmarks
- Wi-Fi passwords (on the same platform)
Often requires manual steps:
- App logins and two-factor authentication codes
- In-app purchases tied to a specific platform account
- Text message history (especially on iPhone without a third-party tool)
- Health and fitness data (varies by app)
- Authenticator app codes — back these up before switching
Also be aware: switching from iPhone to Android (or vice versa) is a cross-platform transfer, which requires a few extra steps compared to staying within the same ecosystem.
Step-by-Step: Moving Your Data
Follow these steps in order. Don't skip the backup step — it's your safety net if anything goes wrong.
Back up your old phone completely
This is non-negotiable. A full backup means that even if something goes wrong during the transfer, you can restore your data.
- iPhone: Go to Settings > tap your name > iCloud > iCloud Backup > Back Up Now. Alternatively, back up to a computer using Finder (Mac) or iTunes (Windows).
- Android: Go to Settings > System > Backup and confirm your Google account backup is enabled and current. Tap Back up now to trigger an immediate backup.
Wait until the backup fully completes before moving on.
Note your app logins and two-factor authentication setup
Before you power down your old phone, manually record logins for any app that uses two-factor authentication (2FA) — especially authenticator apps like Google Authenticator or Authy.
- If you use an authenticator app, check whether it supports cloud backup or account export. Transfer or export your codes before switching.
- For apps tied to your phone number for 2FA, ensure your SIM or number will carry over to your new device.
Use your phone's built-in transfer tool
Both major platforms include a guided transfer process during new phone setup.
- iPhone to iPhone: During setup on the new iPhone, choose Transfer from iPhone and follow the Quick Start prompts. Keep both phones close together and connected to power.
- Android to Android: During setup, select Copy apps & data and follow the on-screen steps. You can transfer wirelessly or with a cable.
- iPhone to Android: Use Google's Switch to Android app on your old iPhone before beginning Android setup.
- Android to iPhone: Use Apple's Move to iOS app on your old Android device during iPhone setup.
Re-download apps and re-authorize accounts
Even after a successful transfer, many apps require you to log back in. Go through your most-used apps first:
- Open each key app and confirm it's logged in.
- Re-enable notifications if they weren't carried over.
- Check payment apps, banking apps, and streaming services — these frequently require re-verification for security reasons.
Verify photos, contacts, and messages
Spot-check the most important categories of data:
- Photos: Open your gallery and scroll back to older photos to confirm they're present.
- Contacts: Search for a few specific people to confirm they imported correctly.
- Messages: Note that SMS/text history transfer varies — iPhone-to-iPhone is the most reliable, while cross-platform transfers often don't include message history.
Once your new phone is set up, it's worth taking a few minutes to lock down your privacy settings. Our guide on mobile security settings every smartphone owner should know walks through exactly what to check.
After the Transfer: Don't Wipe Your Old Phone Yet
Before you do anything with your old device, spend a day or two using your new phone normally. Check that your contacts load correctly, that your photos are all present, and that your most-used apps are working and logged in. This is your verification window.
Give Yourself a Verification Window
Use your new phone as your primary device for 24–48 hours before erasing the old one. Most people discover a missed app login or a forgotten account during normal daily use — having the old phone available as a reference makes resolving those issues much easier. Only wipe the old phone once you're fully satisfied.
When you're confident everything made it over, your next step is securely erasing the old phone. This matters whether you're selling it, handing it to a family member, or recycling it. Our checklist for handing off your old phone covers every step of that process.
If you've gone through a similar process on a computer, you may recognize some of the same principles — our guide to upgrading to a new computer applies the same careful approach to PCs.