

Key Takeaways
Summary
18 items · 5–15 minutes
Why a Pre-Cook Checklist Matters
Most cooking mishaps don't happen at the stove — they happen in the five minutes before you get there. You realize you're out of an ingredient after you've already started sautéing. You discover the baking pan is still dirty. You didn't notice the recipe needed two hours of marinating time. These are fixable problems, but only if you catch them early.
This checklist is built on a principle professional kitchens call mise en place — a French phrase meaning "everything in its place." You don't need culinary training to use it. The idea is simply that cooking goes better when you've done your thinking before the heat is on. For a deeper look at this habit, see how mise en place works for home cooks.
Work through this checklist before you start any recipe — whether it's a Tuesday night dinner or a weekend project. It takes 5 to 15 minutes and can prevent far more frustration than that.
Recipe Review
Ingredient Check
Equipment and Workspace
Active Prep Tasks
Tools and Workspace Setup
Your physical environment shapes how smoothly a cooking session goes. A crowded counter forces awkward movements and slows you down. Missing tools interrupt your flow at the worst moments — usually when something is already in the pan.
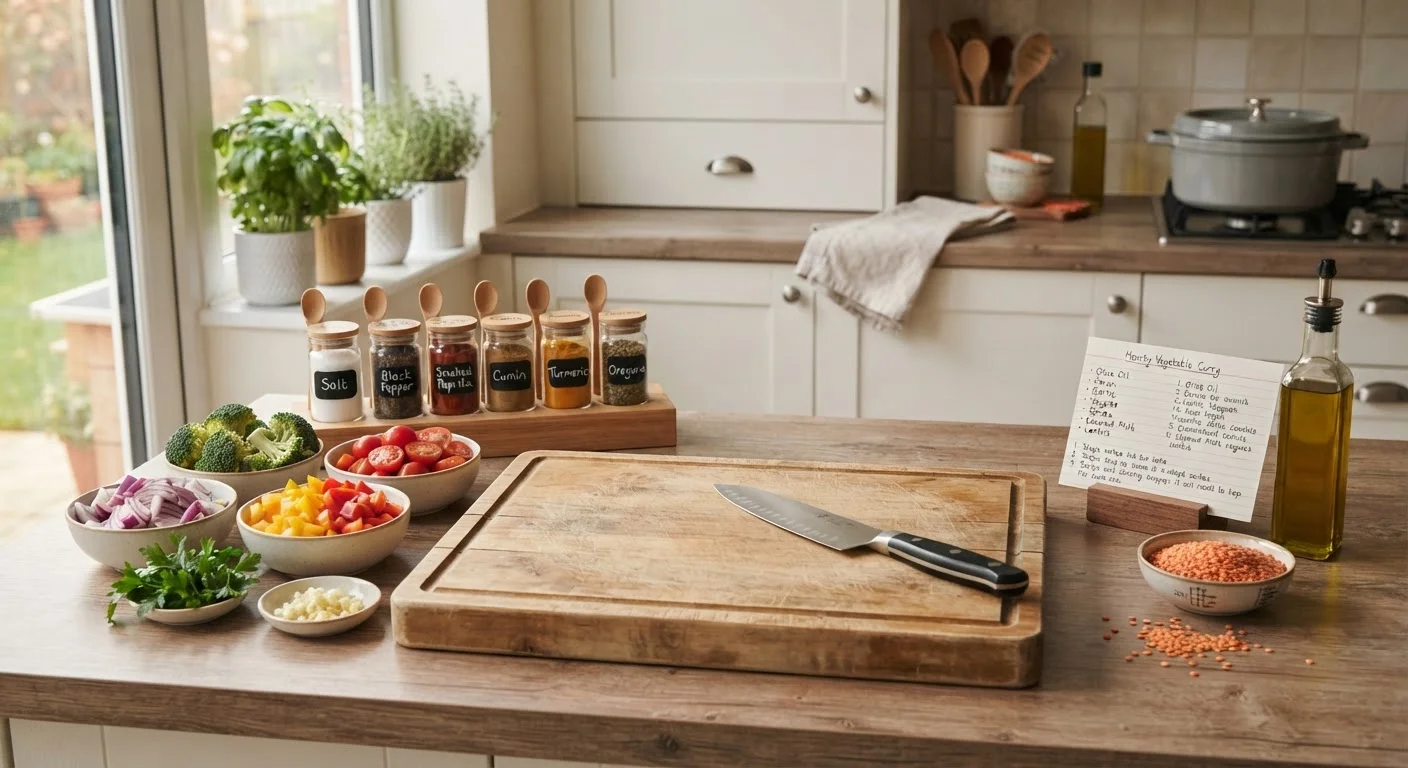
Before pulling out a single ingredient, take a quick pass through your workspace. Clear off anything that doesn't belong. Locate the tools your recipe calls for and confirm they're clean and functional. If a pot needs washing or a knife needs to be found, handle that now rather than mid-cook.
Good kitchen organization isn't about perfection — it's about reducing friction. Even in a small kitchen, a brief setup routine makes a real difference. If you want to connect this habit to your broader weekly cooking strategy, understanding the difference between batch cooking and meal prepping can help you plan which type of session you're actually running.
Sharp Chef's Knife
Used for the majority of chopping, slicing, and dicing tasks during ingredient prep.
Cutting Board
Provides a stable, sanitary surface for all knife work before and during cooking.
Kitchen Scale or Measuring Cups and Spoons
Ensures accurate ingredient measurements, especially critical for baking.
Small Prep Bowls (Ramekins)
Used to hold pre-measured spices and ingredients so they're ready to add at the right moment.
Instant-Read Thermometer
Helps confirm meat and poultry have reached a safe internal temperature.
Timer
Tracks multiple cooking intervals simultaneously so nothing is forgotten or overcooked.
Timing, Heat, and the Steps You Can't Rush
One of the most common reasons a recipe falls apart is a misunderstanding of timing. Some steps — like bringing a large pot of water to a boil, preheating an oven to the right temperature, or resting meat after cooking — take longer than most people expect. If you don't account for them upfront, they create bottlenecks.
Read through the entire recipe once before doing anything else. Note any steps that require advance preparation: marinating, thawing, soaking, resting, or cooling. Map out the order in which components need to start so everything finishes close together.
Pay particular attention to heat-related steps. Starting with the wrong pan temperature is one of the most common reasons food sticks or doesn't sear properly — see how to get a pan to the right temperature for a practical guide. If you're working on a broader cooking plan, building a weekly meal planning routine can help you integrate this prep habit into your whole week.
Don't Skip the Full Read-Through
Scanning a recipe for the ingredient list is not the same as reading it. Instructions often include steps buried mid-recipe — such as "meanwhile, reduce sauce for 20 minutes" or "let rest for 30 minutes" — that change your timing completely. Reading everything first is the single highest-value prep habit you can build.
Avoid Prepping Too Far in Advance
Some ingredients lose quality quickly once cut or measured — avocado browns, fresh herbs wilt, and citrus juice turns bitter. Prep most items right before cooking, and only do truly advance prep (marinating, thawing) when the recipe specifically calls for it.