

Key Takeaways
Why Pan Temperature Actually Matters
Most cooking problems that home cooks blame on a recipe — food that sticks, chicken that steams instead of browns, vegetables that turn limp — trace back to one overlooked moment: putting food into a pan that wasn't ready.
Heat does several things at once when food hits a hot surface. It rapidly drives off surface moisture, triggers the Maillard reaction (the browning process that creates flavor), and creates a brief natural release effect in proteins that reduces sticking. None of that happens efficiently in a cold or barely warm pan. Instead, food sits in lukewarm metal, releases moisture slowly, and bonds to the surface.
As part of the broader habits covered in what experienced home cooks do differently at the stove, proper preheating is one of the first instincts worth developing — and it costs nothing extra.
Match Your Pan to the Job
Stainless steel pans are forgiving at high heat and show you exactly what's happening in the pan. Nonstick pans should generally not be used at very high heat — check the manufacturer's guidance. Cast iron retains heat well once hot but takes longer to get there. Knowing your pan's behavior makes preheating more predictable every time.
What You'll Need
No special equipment is required. The goal is to work with what you already have and learn to read it accurately.
Heavy-bottomed skillet or sauté pan
Distributes heat more evenly than thin pans, reducing hot spots that scorch food unevenly.
Gas, electric, or induction burner
The heat source — preheating time and behavior vary slightly between types.
Small bowl of water
Used to perform the water droplet test to confirm the pan has reached the right temperature.
Neutral cooking oil with a suitable smoke point
Added after preheating to create a non-stick barrier between food and pan surface.
Kitchen timer or phone timer
Helps you track preheat time consistently until reading the pan becomes second nature.
Once you have your pan and burner ready, the steps below walk you through the full preheating process for stovetop cooking. These same principles apply whether you're sautéing or pan-frying — the target temperature just shifts slightly depending on the method.
How to Preheat Your Pan Correctly
Follow these steps before you add any oil or food. Getting this sequence right is what separates a good sear from a sticky mess.
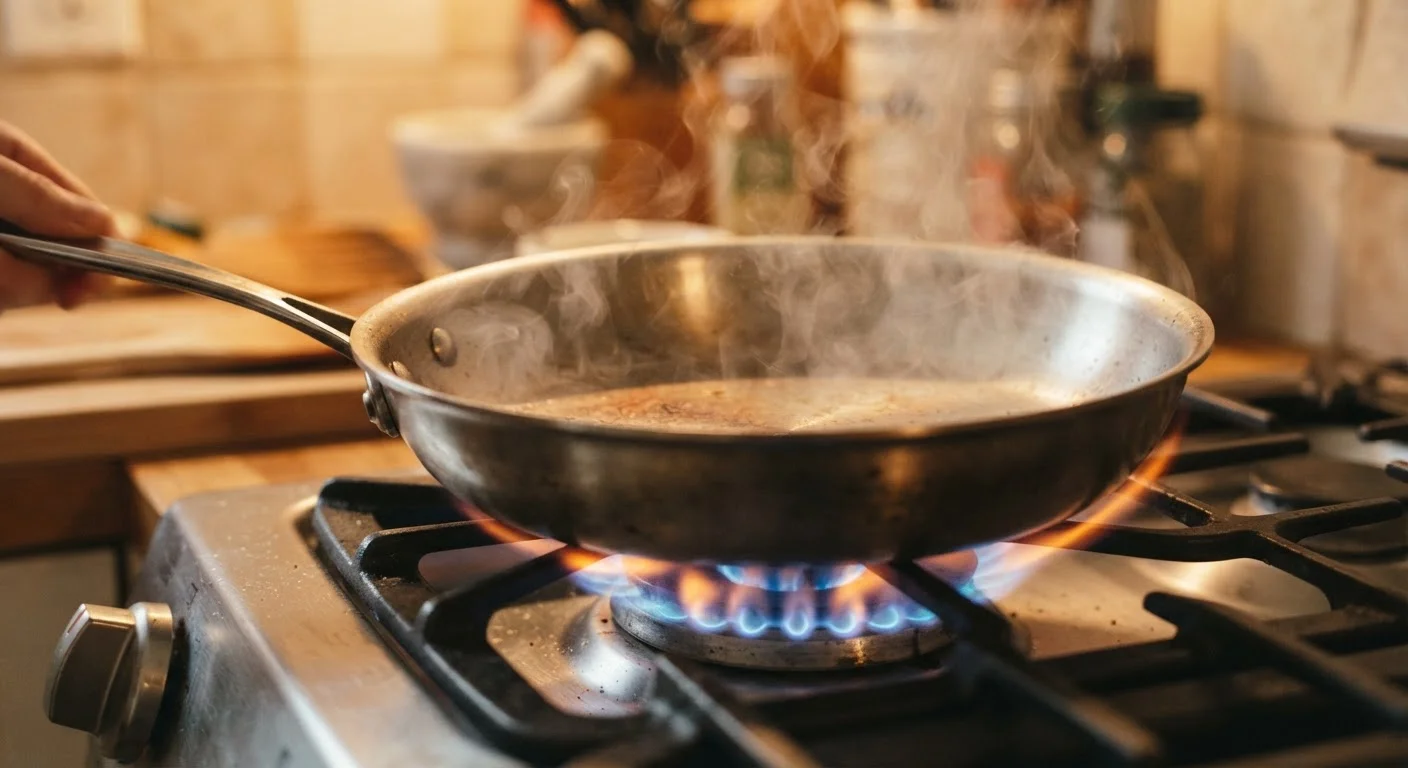
Place the empty pan on the burner
Set your pan on the burner before turning on any heat. Make sure it's dry — any residual water will interfere with the temperature test later and can cause hot oil to spatter.
Turn heat to your target level and wait
Set the burner to the heat level your recipe calls for — medium, medium-high, or high. Then simply wait. On most home stoves, a medium-weight skillet needs 1.5 to 3 minutes to preheat properly. Thin pans heat faster; cast iron and heavy stainless steel take longer.
Perform the water droplet test
Flick a few drops of water from your fingertips toward the pan surface. Watch what happens:
- Drops sizzle and evaporate immediately — the pan is warm but not yet fully preheated.
- Drops bead up and skitter around the surface — this is the Leidenfrost effect, and it means the pan is at or near the right temperature for most high-heat cooking.
- Drops instantly smoke or vanish — the pan may be too hot for delicate foods; reduce heat slightly and let it stabilize.
Add oil and let it heat briefly
Once the pan passes the water test, add your cooking oil. Swirl it to coat the bottom. Within about 30 seconds the oil will shimmer and flow easily — that's your signal to add food. If the oil begins to smoke, it's too hot; remove the pan from heat for 30 seconds before proceeding.
Add food and do not move it immediately
Place food in the pan and resist the urge to stir or shift it right away. A properly preheated pan with oil will release the food naturally once a crust forms — usually within 1 to 3 minutes depending on the ingredient. If you pull and it resists, it needs more time.
Once your pan is properly heated and your food is in, avoid the temptation to overfill it. Even a perfectly preheated pan can't compensate for too much food crowding the surface. Keep ingredients in a single layer with room between them.
Adjusting for Different Cooking Tasks
Not every dish needs the same heat level. Here's a general guide:
- High heat — searing steak, browning chicken thighs, stir-frying. You want the pan very hot before oil goes in.
- Medium-high heat — sautéed vegetables, pan sauces, fish fillets. Hot enough to brown but with more control.
- Medium heat — eggs, pancakes, delicate proteins. The pan should feel warm immediately when you hover your hand 3–4 inches above it.
If you're building the habit of cooking smarter before recipes even begin, pair this step with the full pre-cook prep checklist — preheating your pan at the right moment in that sequence makes a real difference in timing. The same principle that makes a pan sear food properly is what helps roasted vegetables caramelize instead of steam — enough heat, applied consistently, without trapping moisture.