

Key Takeaways
Why Cooking From Your Pantry Saves More Than You Expect
Most grocery overspending does not happen at the store — it happens before you leave the house, when you plan without checking what you already own. Ingredients get repurchased, perishables go unused, and meals get ordered in because nobody realized dinner was already half-assembled in the cabinet. This cycle is common, and it is largely preventable.
Cooking from your pantry is not about deprivation or eating through a sad collection of forgotten cans. It is about using your existing food stock as the starting point for meal planning instead of the afterthought. Done consistently, this habit can meaningfully reduce both grocery spending and food waste — two problems that reinforce each other. For more on connecting pantry habits to a tighter grocery budget, see our meal planning on a tight budget guide.
The process is straightforward: audit what you have, prioritize what will spoil first, build meals around that, then shop only for true gaps. The steps below walk through that sequence in practical terms.
Check Dates Before You Plan
Before building any meal around a pantry item, verify it is still safe and good quality to eat. Most 'best by' dates indicate peak quality rather than a hard safety cutoff, but visible mold, off smells, or damaged packaging are always reasons to discard. For more context on what pantry dates actually mean, see our guide on expiration labels. When in doubt, throw it out.
What You Need Before You Start
This process requires very little setup. You need a way to record what you find, a rough sense of your week's schedule, and about 20 to 40 minutes the first time through. Subsequent weeks take considerably less time once you have a working inventory to update rather than rebuild from scratch.
What you will need
Notepad or notes app
Record what you find during your pantry, fridge, and freezer audit so nothing gets forgotten.
Sticky notes or markers
Flag items that are near expiry or earmarked for a specific meal this week.
Weekly calendar or planner
Map meals to specific days based on your schedule and what needs to be used first.
If you are not sure how your fridge is currently organized or whether temperature zones are affecting how long your food stays fresh, our guide on refrigerator door storage and temperature zones is worth a quick read before you start your audit.
Step-by-Step: How to Plan Around Your Pantry
Work through these steps in order. Each one builds on the last, so resist the urge to jump to the shopping list before you have completed the audit and prioritization stages.
Pull everything out and do a full visual audit
Before you can plan meals around what you have, you need to actually see what you have. This sounds obvious, but most of us cook around a mental model of our pantry that is weeks out of date. Pull items forward on shelves, open cabinets fully, and check the back corners where things get buried.
Go through three areas in order: pantry or dry goods storage, refrigerator, and freezer. Jot down what you find in each. You do not need to catalog every spice — focus on proteins, grains, canned goods, produce, and dairy. These are the ingredients that anchor meals.
Sort items by urgency — what needs to be used first
Once you have a list, divide it into two columns: use soon and stable. The 'use soon' column includes anything fresh, already open, or approaching its quality date. Think: half a block of cheese, a bag of spinach, leftover cooked rice, chicken thighs already thawed in the fridge.
These perishable items will anchor your first two or three days of meals. Stable pantry goods — dried lentils, canned beans, pasta, frozen vegetables — fill out the rest of the week. This order of priority is what prevents food from quietly going to waste in the back of the fridge.
Identify the meals those ingredients can build
Now match your 'use soon' items to realistic meals. The goal is not culinary creativity — it is practical assembly. A piece of salmon, some lemon, and frozen green beans is dinner. Eggs, leftover potatoes, and shredded cheese is a frittata or a hash. Do not overthink it.
For each meal, ask: What's the main protein or carb? What can I add from the pantry to round it out? You may find that four or five meals nearly plan themselves before you reach for shelf-stable goods. This habit also naturally cuts grocery spending, since fewer gaps need filling at the store.
Fill in the remaining days with pantry staples
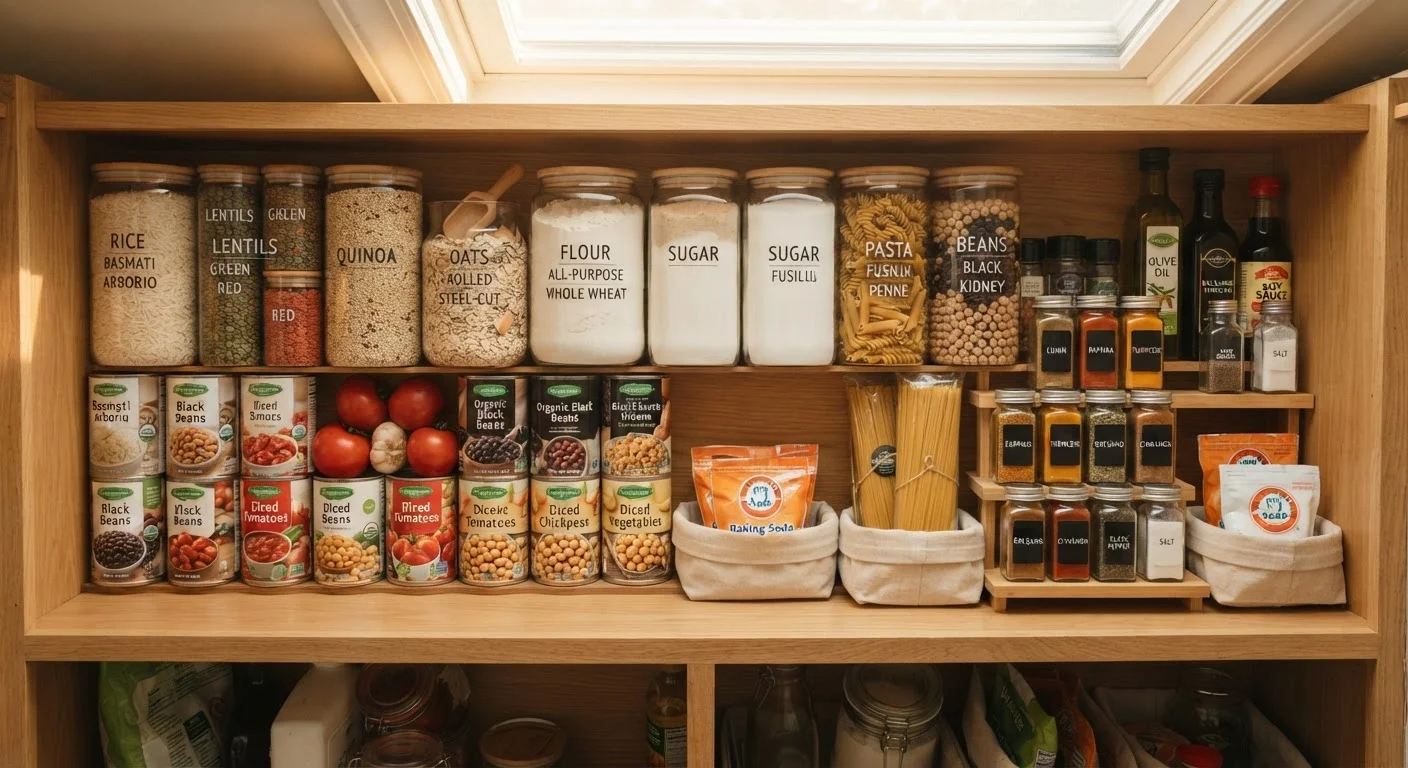
Once perishables are accounted for, look at your stable pantry column to fill out the rest of the week. Dried pasta, canned tomatoes, beans, and grains are flexible building blocks that pair with a small number of fresh ingredients or proteins. Identify two or three additional meals you can construct largely from what you already own.
At this stage, you are also identifying the genuine gaps — items you actually need to buy. Write a focused grocery list based only on those gaps. This is what keeps shopping trips from expanding into expensive, unfocused hauls.
Assign meals to days based on your actual schedule
Spread your planned meals across the week with your real schedule in mind. Place quick, low-effort meals on your busiest evenings. Save anything requiring more prep time for days you know you have breathing room. Be honest about which nights you are likely to order out or eat leftovers — build those into the plan as intentional choices rather than failures.
Assigning meals to days (rather than leaving a loose list) also helps you sequence ingredient use correctly. If the spinach needs to be used by Wednesday, make sure a spinach-forward meal lands Monday or Tuesday.
Keep a simple ongoing inventory to make next week easier
After one round of this process, you will notice how much easier it gets when your pantry is already documented. Start a simple running list — a note on your phone, a whiteboard on the fridge, or a basic spreadsheet — that you update when you open something new, use something up, or bring groceries home.
This is not about building a complex system. It is about reducing the mental overhead of the audit step each week. Even a rough list cuts the time it takes to answer the question: what do I actually have?
Group by Meal, Not by Ingredient
Once your pantry is inventoried, try mentally grouping items into possible meals rather than ingredient categories. A can of chickpeas, a jar of diced tomatoes, and some dried pasta already form the backbone of three different dinners. This shift in thinking makes it far easier to see what you can actually cook tonight versus what still needs a grocery run.
Once you have your plan set, reducing food waste week after week becomes largely a matter of following the sequence. Our article on reducing food waste through smarter weekly planning goes deeper on the habits that keep this working over time.