

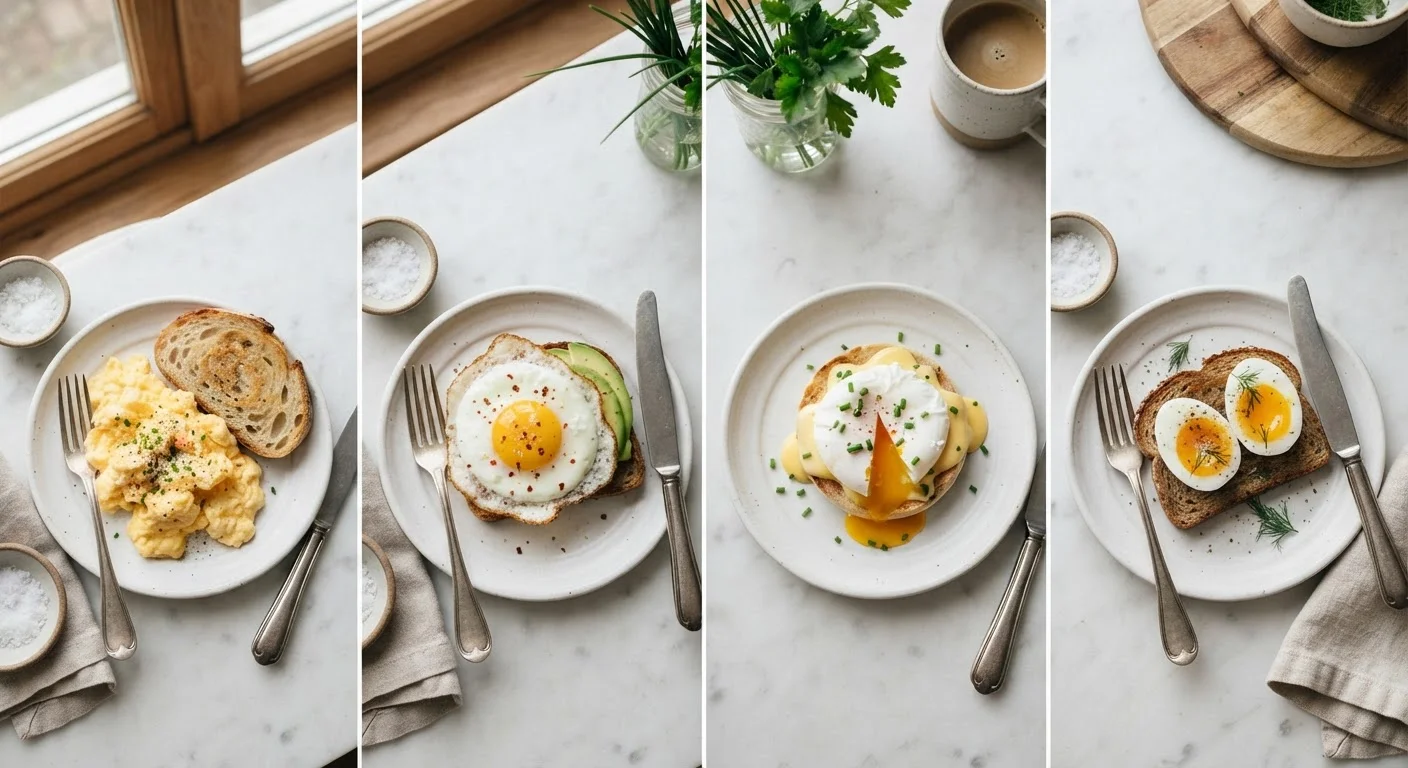
Key Takeaways
Why Egg Technique Matters
Eggs are one of the most instructive ingredients in any kitchen. They're inexpensive, fast to cook, and unforgiving enough that small technique changes produce noticeably different results. Understanding why each method works the way it does gives you a transferable foundation — not just for eggs, but for managing heat and timing across all kinds of cooking.
If you're still building comfort in the kitchen, see our guide to reading recipe language — it covers terms like "set," "fold," and "temper" that appear frequently in egg preparations.
Each method below follows a simple logic: understand what you're trying to achieve with the egg's texture, then use heat and time to get there.
Scrambled Eggs: Low and Slow Wins
The most common scrambled egg mistake is using high heat to speed things up. High heat causes the proteins in the egg to seize and expel moisture, leaving you with dry, rubbery curds. Low to medium-low heat, by contrast, lets the proteins coagulate gently, producing soft, creamy folds.
The method: Whisk eggs thoroughly — this incorporates air and ensures even cooking. Add a small amount of fat (butter works well) to a cold pan, then turn the heat to low. Pour in eggs and stir slowly and continuously, pulling the eggs from the edges toward the center. Remove from heat while they still look slightly underdone; residual heat finishes the job.
Pull scrambled eggs off the heat a few seconds before they look done — the pan continues cooking them. Aiming for 'just right' in the pan means overdone on the plate.
Residual heat in the pan and eggs themselves continues cooking proteins even after the burner is off, so early removal is essential for a creamy result.
For poached eggs, crack each egg into a separate small cup before the water is ready — it makes the release smooth and fast, which matters when timing is tight.
A hesitant or awkward release causes the egg to spread unevenly in the water, resulting in ragged whites instead of a compact, well-formed poached egg.
Avoid adding milk or cream if you want a richer texture — some cooks add a splash of water instead, which creates steam and lightens the texture without diluting flavor. Salt added before cooking draws out moisture; many cooks prefer salting at the end.
Fried Eggs: Heat Control Is Everything
Fried eggs exist on a spectrum based on how much the yolk is cooked. The names reflect that progression: sunny side up (no flip, runny yolk), over easy (flipped once, yolk still runny), over medium (yolk jammy), over hard (yolk fully cooked through).
The method: Use medium heat and enough fat to coat the pan surface. Crack the egg into a small bowl first — this gives you control and lets you spot any shell fragments. Slide the egg gently into the pan. For sunny side up, cover the pan briefly with a lid to let steam set the white without flipping. For over-style eggs, flip carefully with a thin spatula once the white is fully set on the bottom.
The biggest issue home cooks run into is lacy, browned edges — a sign the heat is too high. A slightly lower heat produces clean, tender whites. For more instincts like this, see what experienced home cooks do differently at the stove.
Poached Eggs: Water Temperature and Freshness
Poaching intimidates many cooks, but it comes down to two variables: water temperature and egg freshness. The water should be hot but not boiling — around 180°F to 190°F, which is a gentle simmer with small bubbles rising from the bottom. A rolling boil will tear the egg apart.
The method: Fill a saucepan with about 3 inches of water and bring to a gentle simmer. Add a small splash of white vinegar — this helps the white coagulate faster, though it's optional. Crack the egg into a small cup, stir the water to create a gentle swirl, and lower the cup close to the surface before releasing the egg. Cook for 3 to 4 minutes for a runny yolk. Lift out with a slotted spoon and blot dry.
On freshness: Fresh eggs have tighter whites that hold together in the water. Older eggs spread out more. If your eggs are more than a week or two old, poaching becomes noticeably harder — plan accordingly.
Soft-Boiled and Hard-Boiled: Timing Precision
Boiled eggs require no fat and very little attention — the challenge is timing. The water temperature stays constant; what changes is how long the egg stays in it.
- Soft-boiled (runny yolk): 6–7 minutes in gently boiling water
- Jammy yolk: 8–9 minutes — the yolk is set but still slightly soft in the center
- Hard-boiled: 11–12 minutes for a fully set yolk
The method: Bring water to a boil before adding eggs — this gives more consistent timing than starting in cold water. Lower eggs in gently using a spoon to avoid cracking. When time is up, transfer eggs immediately to an ice bath (a bowl of ice water) to stop cooking. This step is non-negotiable for soft-boiled eggs; skipping it results in an overcooked yolk.
A gray-green ring around a hard-boiled yolk is a sign of overcooking — it's harmless but avoidable with an ice bath and accurate timing.
Common Mistakes Across All Methods
Most egg failures share a root cause: too much heat, applied too fast. Here are the patterns worth watching:
- Cracking eggs directly into a hot pan — always crack into a bowl first for control.
- Walking away from the stove — eggs cook quickly and change fast; stay present.
- Skipping the ice bath for boiled eggs — the egg keeps cooking from residual heat without it.
- Using the wrong pan — a well-seasoned or nonstick pan makes a significant difference for scrambled and fried eggs.
Before you start any egg preparation, a simple prep check makes the process smoother. Our pre-cooking prep checklist covers how to set yourself up before the first crack of an egg. And if your kitchen layout is making cooking harder than it needs to be, organizing your kitchen from scratch is a practical place to start.
Eggs reward repetition. Cook them enough times with attention on the heat and timing, and the instincts become second nature.