

Key Takeaways
Is Your Home a Good Candidate for DIY Installation?
Before buying a smart thermostat, the most important question isn't which model to choose — it's whether your home's HVAC system is compatible with a DIY swap. Most central heating and cooling systems in American homes run on low-voltage wiring (24V), which is safe to handle when power is off at the breaker. These are the systems that smart thermostats are designed for.
There are two situations where you should call a licensed HVAC professional instead of attempting this yourself:
- High-voltage systems (120V or 240V): Older electric baseboard heaters and some radiant systems use line-voltage wiring. This is not a DIY task — working with it improperly is a serious shock and fire hazard.
- Multi-stage or proprietary systems: Some heat pumps, boilers, and zone-control systems have complex wiring that doesn't map cleanly to standard thermostat terminals. If you have more than 6–7 wires at your thermostat, professional verification is wise.
Not sure what type of system you have? Check your current thermostat's wiring label or your HVAC equipment manual. Most smart thermostat manufacturers also offer online compatibility checkers where you can enter your wire configuration and get a clear answer before purchasing.
For a broader look at what to expect from the wiring side, see our guide to thermostat wiring basics before you start.
Stop If You See High-Voltage Wiring
If your existing thermostat wires are thick (similar to lamp cord or heavier) or if you see 120V or 240V marked anywhere on the wiring, stop and contact a licensed electrician or HVAC technician. Standard smart thermostats are not compatible with high-voltage systems, and attempting the swap yourself poses a serious safety risk.
What You'll Need
Gather the following before you begin. Having everything on hand avoids trips mid-installation with live wires exposed.
Flathead and Phillips screwdrivers
Used to remove the old thermostat from the wall plate and secure the new mounting plate.
Smartphone or digital camera
Used to photograph your existing wiring before disconnecting anything — your most important reference during reinstallation.
Masking tape and marker
Label each wire with its terminal letter before removing it, as a backup to your photo.
Level (small bubble level or app)
Ensures the new wall plate is mounted straight before securing it permanently.
Voltage tester (non-contact)
Confirms power is off at the thermostat before you touch any wiring.
Drill and wall anchors
Needed if the new mounting holes don't align with existing ones in the wall.
What you will need
Step-by-Step Installation
Follow these steps in order. Do not skip the power-off step — even low-voltage wiring can damage your HVAC control board if shorted accidentally.
Turn Off Power at the Breaker
Locate your home's electrical panel and switch off the breaker that controls your HVAC system or thermostat circuit. Some panels label this clearly; others don't. If you're unsure, switch off the furnace or air handler breaker. Use a non-contact voltage tester at the thermostat to confirm no power is flowing before proceeding.
Remove the Old Thermostat and Photograph the Wiring
Gently pull the thermostat body off its wall plate — most snap or slide off. You'll now see the wiring terminal block. Before disconnecting a single wire, take a clear, well-lit photo showing every wire and the terminal letter it connects to (R, G, Y, W, C, etc.). This photo is your map for the reinstall.
Next, use masking tape and a marker to label each wire with its terminal letter as a backup, then unscrew or release each wire from its terminal.
Remove the Old Wall Plate and Mount the New One
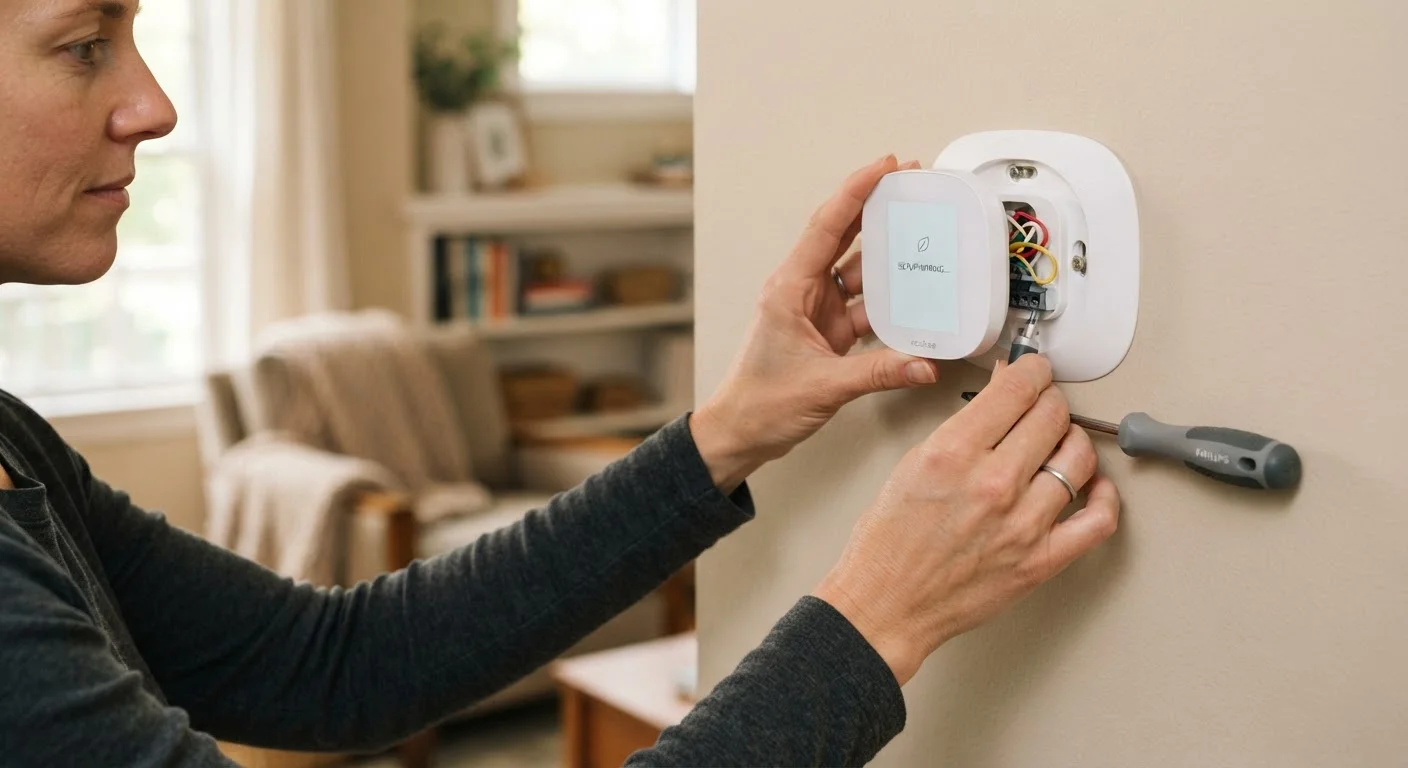
Unscrew the old wall plate from the wall. Thread your wires through the opening in the new mounting plate, then hold it against the wall. Use a small level to make sure it's straight, mark the screw holes, and fasten it securely. If the old holes don't line up, use the wall anchors included with your thermostat kit.
Connect the Wires to the New Terminals
Referring to your photo from Step 2, connect each wire to the matching terminal on the new wall plate. Terminal labels are standard: R (power), G (fan), Y (cooling), W (heat), C (common). Some thermostats use slightly different labeling — cross-reference your installation guide if a terminal letter doesn't appear on the new plate.
Push each wire firmly into its terminal until it clicks or until the set screw is snug. Give each wire a gentle tug to confirm it won't pull free.
Attach the Thermostat Display and Restore Power
Snap or slide the thermostat body onto the newly wired wall plate according to the manufacturer's instructions. Return to the electrical panel and switch the breaker back on. The thermostat should power on within a few seconds.
Complete the Setup Wizard and Test the System
Follow the on-screen or in-app setup wizard to connect the thermostat to your Wi-Fi, select your HVAC equipment type, and set your location. Once setup is complete, test each mode: set the temperature above the current room temperature to trigger heating, then below it to trigger cooling. Confirm your system responds within a minute or two in each mode.
Once your thermostat is running, take time to program a schedule that matches your household's routine. The thermostat is only as efficient as the schedule you give it. For realistic expectations about how much a smart thermostat can actually reduce energy use, see our comparison of smart vs. programmable thermostats.
Troubleshooting Common Issues
If the thermostat doesn't power on or your system doesn't respond after installation, work through these common causes before calling for help:
- Blank screen after installation
- Confirm the circuit breaker is back on. Check that all wires are firmly seated in their terminals — a loose wire is the most common cause of a dead display.
- Heating or cooling won't start
- Verify that each wire is in the correct terminal based on your photo from Step 2. A wire in the wrong slot (such as G in the Y terminal) will prevent the system from responding correctly.
- "No C-wire" error or low battery warning
- Some smart thermostats draw continuous power through the C-wire (common wire). If your old thermostat didn't use one, your system may not have it connected. Many manufacturers include a C-wire adapter in the box, or you can use a separate add-a-wire adapter kit — check your thermostat's documentation for supported options.
- Wi-Fi won't connect
- Most smart thermostats only connect to 2.4 GHz Wi-Fi networks, not 5 GHz. Check your router settings and ensure you're entering the correct password during setup.
If you're tackling other smart home projects with a similar DIY approach, our walkthrough for DIY home security setup covers similar planning and installation principles.
And if this is your first smart home device, it's worth reading about common home automation misconceptions so you go in with realistic expectations.