

Key Takeaways
What You Need Before You Start
Before touching a single sensor, build a clear picture of your home's vulnerabilities. Walk every exterior door, ground-floor window, and garage entry point and count them. This audit directly determines how many sensors you'll need. For a structured approach, see our home security audit guide.
If you're new to how the components fit together — hubs, sensors, keypads, sirens — read Home Security Systems Explained first. Understanding what each part does prevents expensive mistakes at purchase.
What you will need
Security hub / base station
Central device that connects all sensors and communicates alerts to your phone or monitoring service.
Door and window contact sensors
Detect when a door or window is opened; the core sensor type for entry-point coverage.
Motion sensor (PIR)
Detects movement in interior zones such as hallways and stairwells.
Smartphone with companion app
Used to configure the system, receive alerts, and run sensor tests during setup.
Small Phillips-head screwdriver
Needed for sensors that offer screw-mount installation as an alternative to adhesive.
Measuring tape
Helps verify sensor alignment gaps and motion sensor mounting heights.
Planning Sensor Placement
Effective security coverage follows a zone logic: prioritize primary entry points first (front door, back door, garage door), then secondary points (ground-floor windows, sliding doors), and finally interior zones (motion sensors covering hallways or stairwells).
A few practical placement rules:
- Door and window sensors should be mounted so the two magnetic halves align within the manufacturer's specified gap — usually under half an inch.
- Motion sensors cover a cone-shaped field, typically 90 to 110 degrees. Mount them in corners at 6–8 feet high for the widest sweep without blind spots.
- Glass-break sensors are range-limited; check the spec sheet for the effective radius before placement.
Sketch a simple floor plan and mark each sensor location. This map becomes your installation checklist and helps you verify complete coverage before you're done.
Installing the Hub and Connecting Sensors
The hub is the brain of your system. Place it centrally in the home — not in a basement corner or garage — where it has strong Wi-Fi signal and is close to a power outlet. Many systems also support cellular backup, which keeps the system communicating even if your internet goes down. That's worth enabling if your system supports it.
Power up and register the hub
Plug the hub into a power outlet in your chosen central location. Open the companion app and follow the on-screen pairing process — this typically involves scanning a QR code on the hub or entering a serial number. Connect it to your Wi-Fi network when prompted. Wait for the hub status indicator to show a solid connected state before proceeding.
Add sensors one at a time through the app
In the app, select "Add Device" or "Add Sensor" and follow the pairing prompt for each sensor type. Most systems use a simple press-and-hold on a sensor button to put it in pairing mode. Name each sensor descriptively as you add it — Front Door, Kitchen Window, Upstairs Hallway — so alerts are immediately understandable.
Mount sensors at each planned location
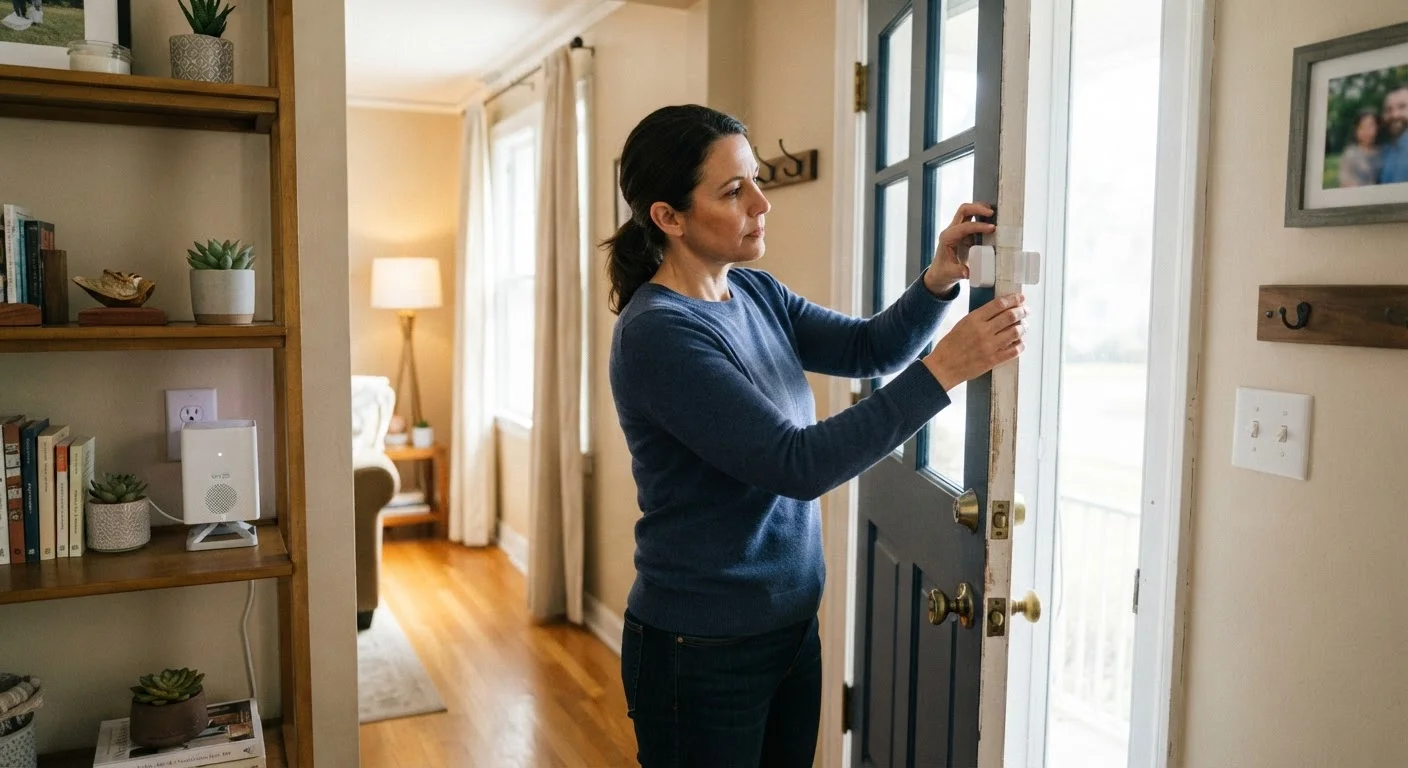
Most sensors include both adhesive pads and screw holes. Use screws on high-traffic doors that vibrate with use; adhesive is fine for windows and low-traffic doors. For contact sensors, align the sensor body with the magnet so they sit within the manufacturer's specified gap when the door or window is closed. For motion sensors, mount at the recommended height (typically 6–8 feet) angled toward the center of the zone, avoiding direct line-of-sight to heat sources like vents or sunny windows.
Configure entry delay and alert settings
In the app's settings, set an entry delay — the window of time (commonly 30–60 seconds) you have to disarm the system after opening the front door before the alarm triggers. Also configure an exit delay for arming. Set up push notifications so your phone receives alerts when sensors trigger. If your system supports multiple users, add household members now so everyone can arm and disarm independently.
Run a full system test in test mode
Enable test mode in the app — this suppresses live alarms while still logging sensor activity. Arm the system, then open every door and window with a sensor, one at a time, and confirm each triggers an alert in the app. Walk through every motion sensor zone. Check that the hub's status updates correctly and that all sensor names match your labeled locations. Disable test mode only after every sensor has been verified.
Once sensors are live, take time to understand your monitoring options. Professional monitoring and self-monitoring differ in meaningful ways beyond the monthly bill. Our comparison article, Professionally Monitored vs. Self-Monitored Security, breaks down the real trade-offs.
Testing and Ongoing Maintenance
Installation isn't complete until every component is tested. Most apps include a test mode that triggers sensor alerts without activating the full alarm or notifying a monitoring center. Use it.
Use Test Mode Every Time You Make Changes
Any time you add a sensor, move a device, or update settings, run a quick test-mode check before returning to live operation. It takes five minutes and catches misconfigured sensors before they either miss a real event or trigger a false alarm. Most apps make test mode easy to toggle in the settings menu.
Walk through this post-installation checklist:
- Open and close each door and window with the system armed in test mode — confirm each sensor registers in the app.
- Walk through every motion sensor's detection zone at various speeds.
- Check battery indicators for every wireless sensor in the app dashboard.
- Confirm your hub's connectivity status — look for any offline warnings.
Schedule a brief monthly check: open the app, review sensor battery levels, and arm/disarm the system to confirm normal operation. Sensor batteries typically last one to three years depending on use frequency and temperature, but low-battery alerts in-app will usually flag issues before they become problems.
If you plan to connect your security system to a broader smart home setup, be aware that compatibility and reliability vary significantly by platform. See Integrating Home Security Into a Smart Home before committing to an ecosystem. And if this is your first smart device project overall, Your First Smart Home offers grounded advice on building a setup that actually works day to day.